Look How Much They've Grown!
I started hydroponic gardening! You can check out the progress here. You can see photos from the beginning up to now. Source code is available here.
The Beginning
I asked an LLM “Got any cool IoT project ideas?” and hydroponics was one of the suggestions—it caught my interest. However, my apartment has poor natural lighting and I couldn’t secure the space, so the idea sat on the back burner for a while. But after a major cleaning effort, I managed to free up the space where my bookshelf used to be, and thus my hydroponic journey began.
Seed Sowing and Transplanting
I started at the end of November, just as Japan was heading into winter. My apartment is reinforced concrete and semi-basement, so it retains heat well and doesn’t experience much temperature fluctuation. Figuring it was around 15°C, I consulted with Gemini, which recommended the following varieties:
- Italian Parsley
- Swiss Chard
- Leaf Lettuce
- Arugula
- Cilantro
I bought the seeds as suggested and planted them as shown below.
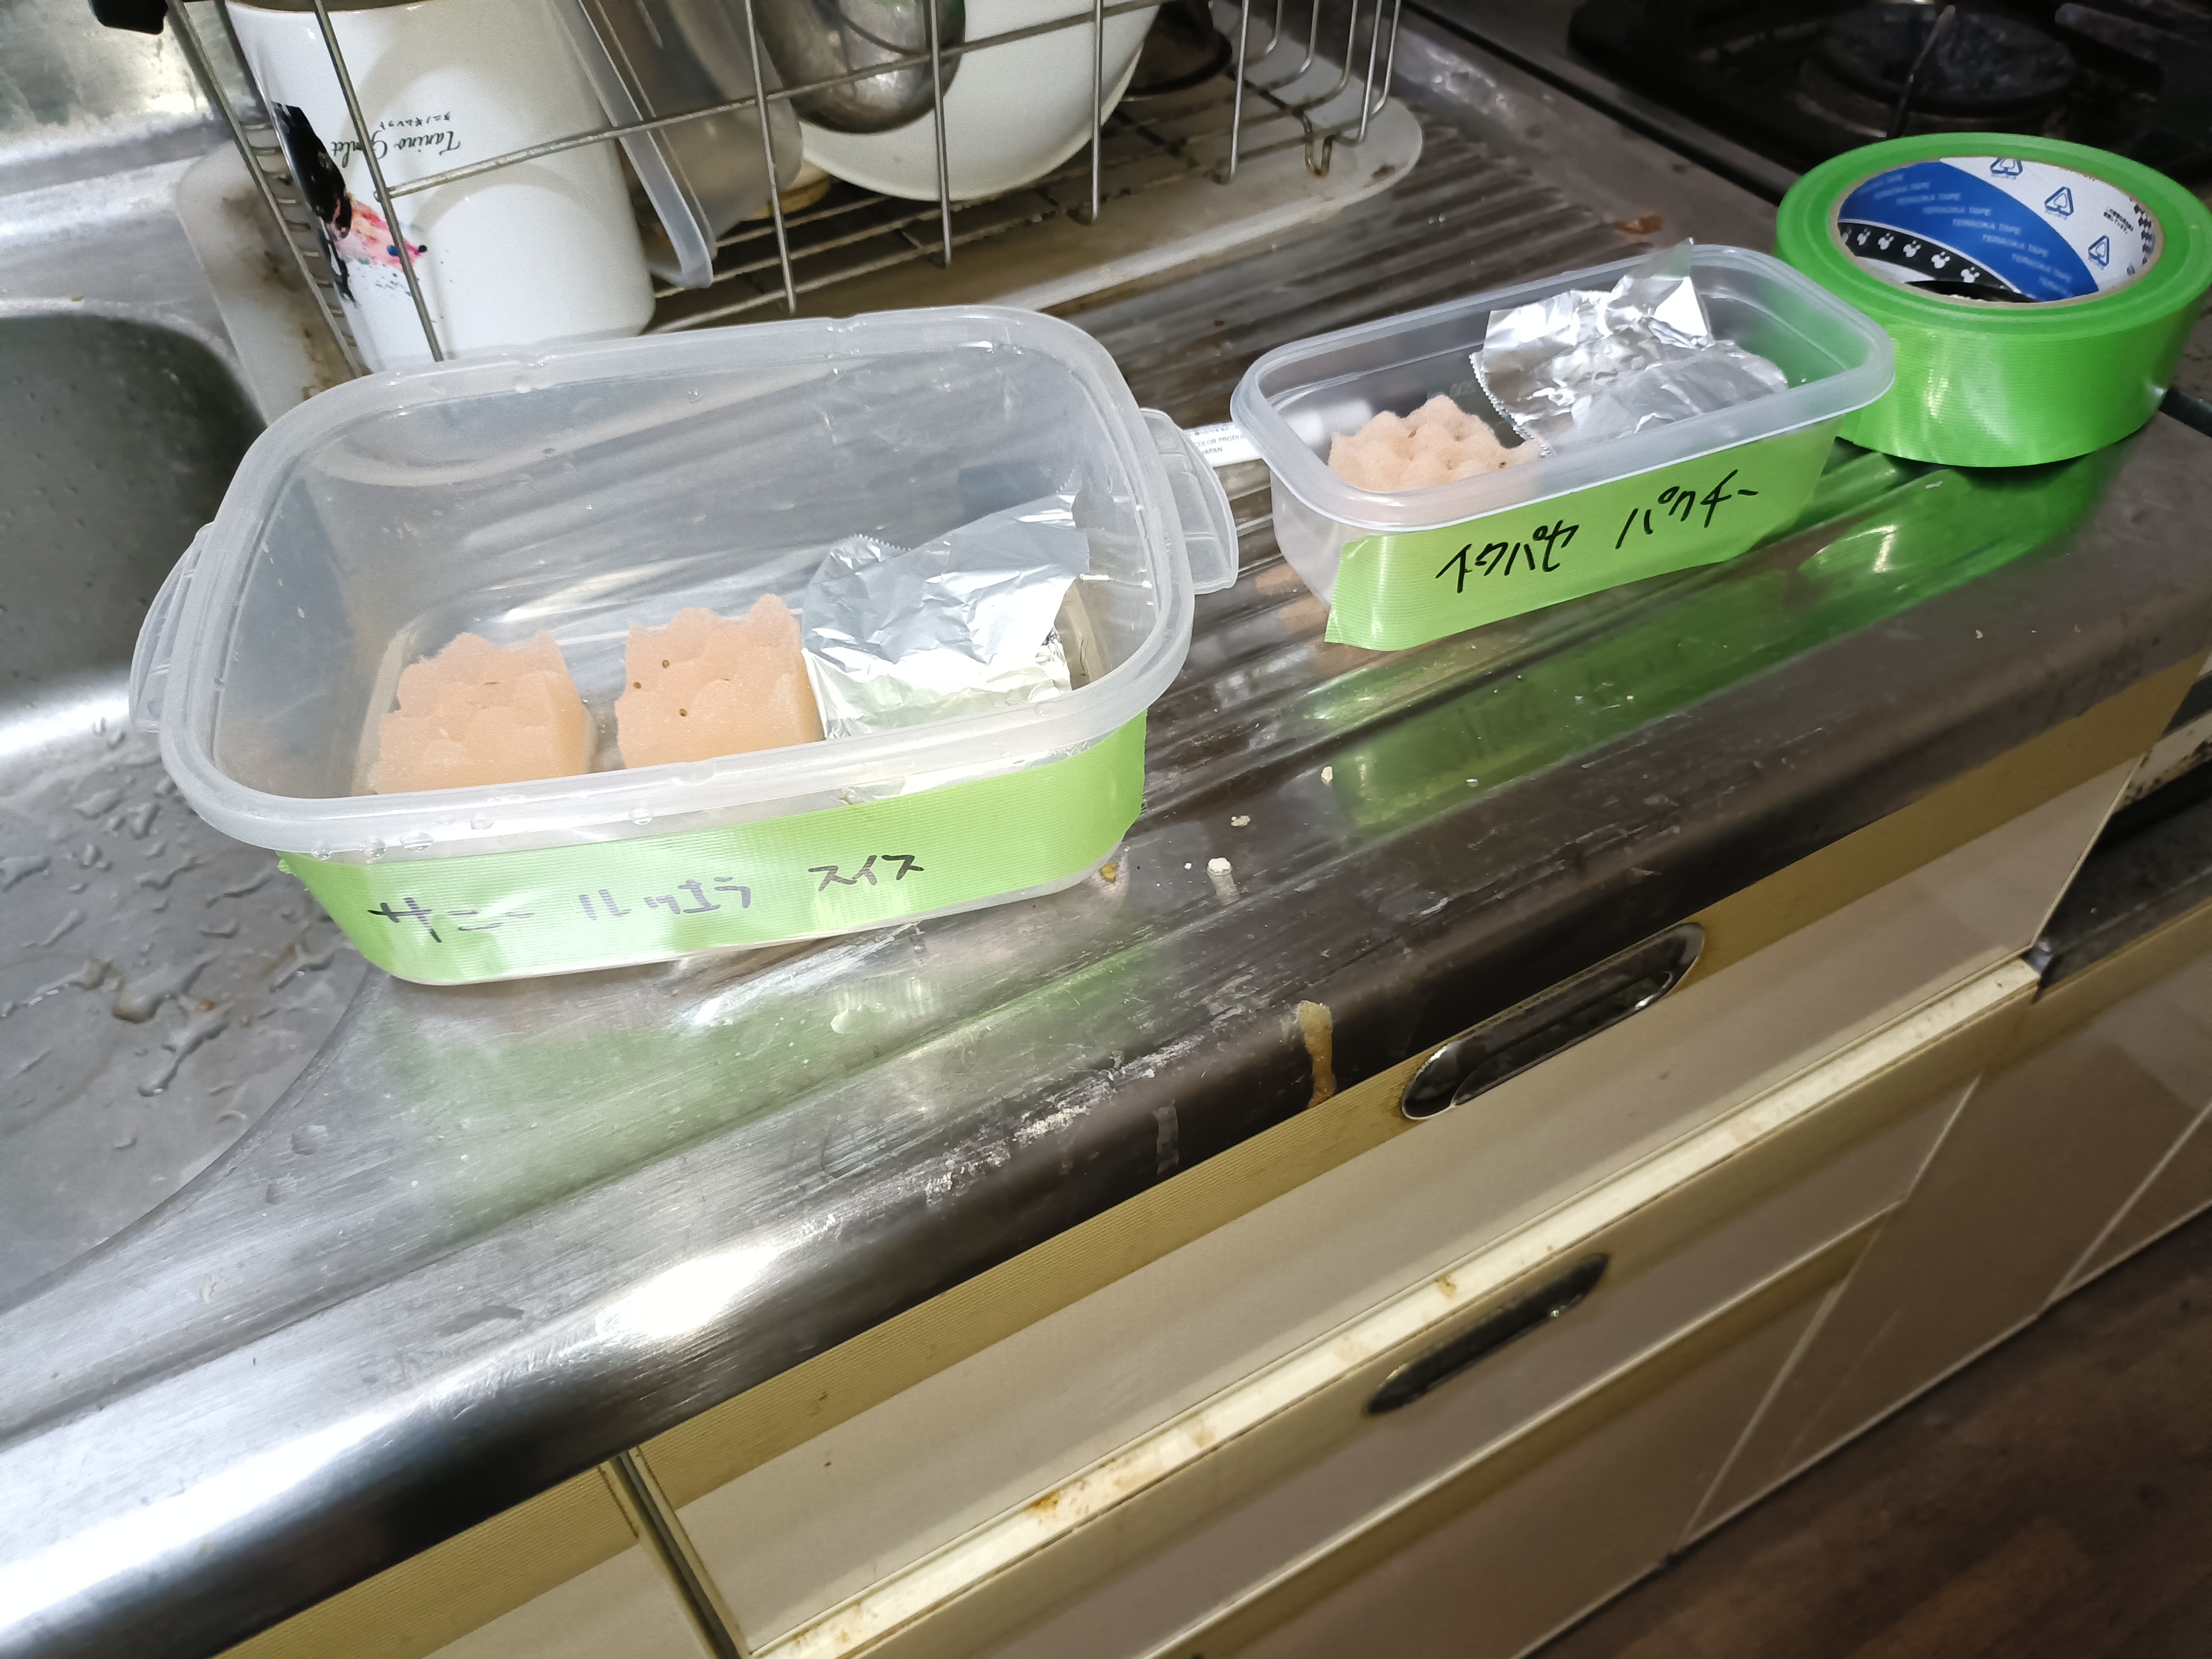
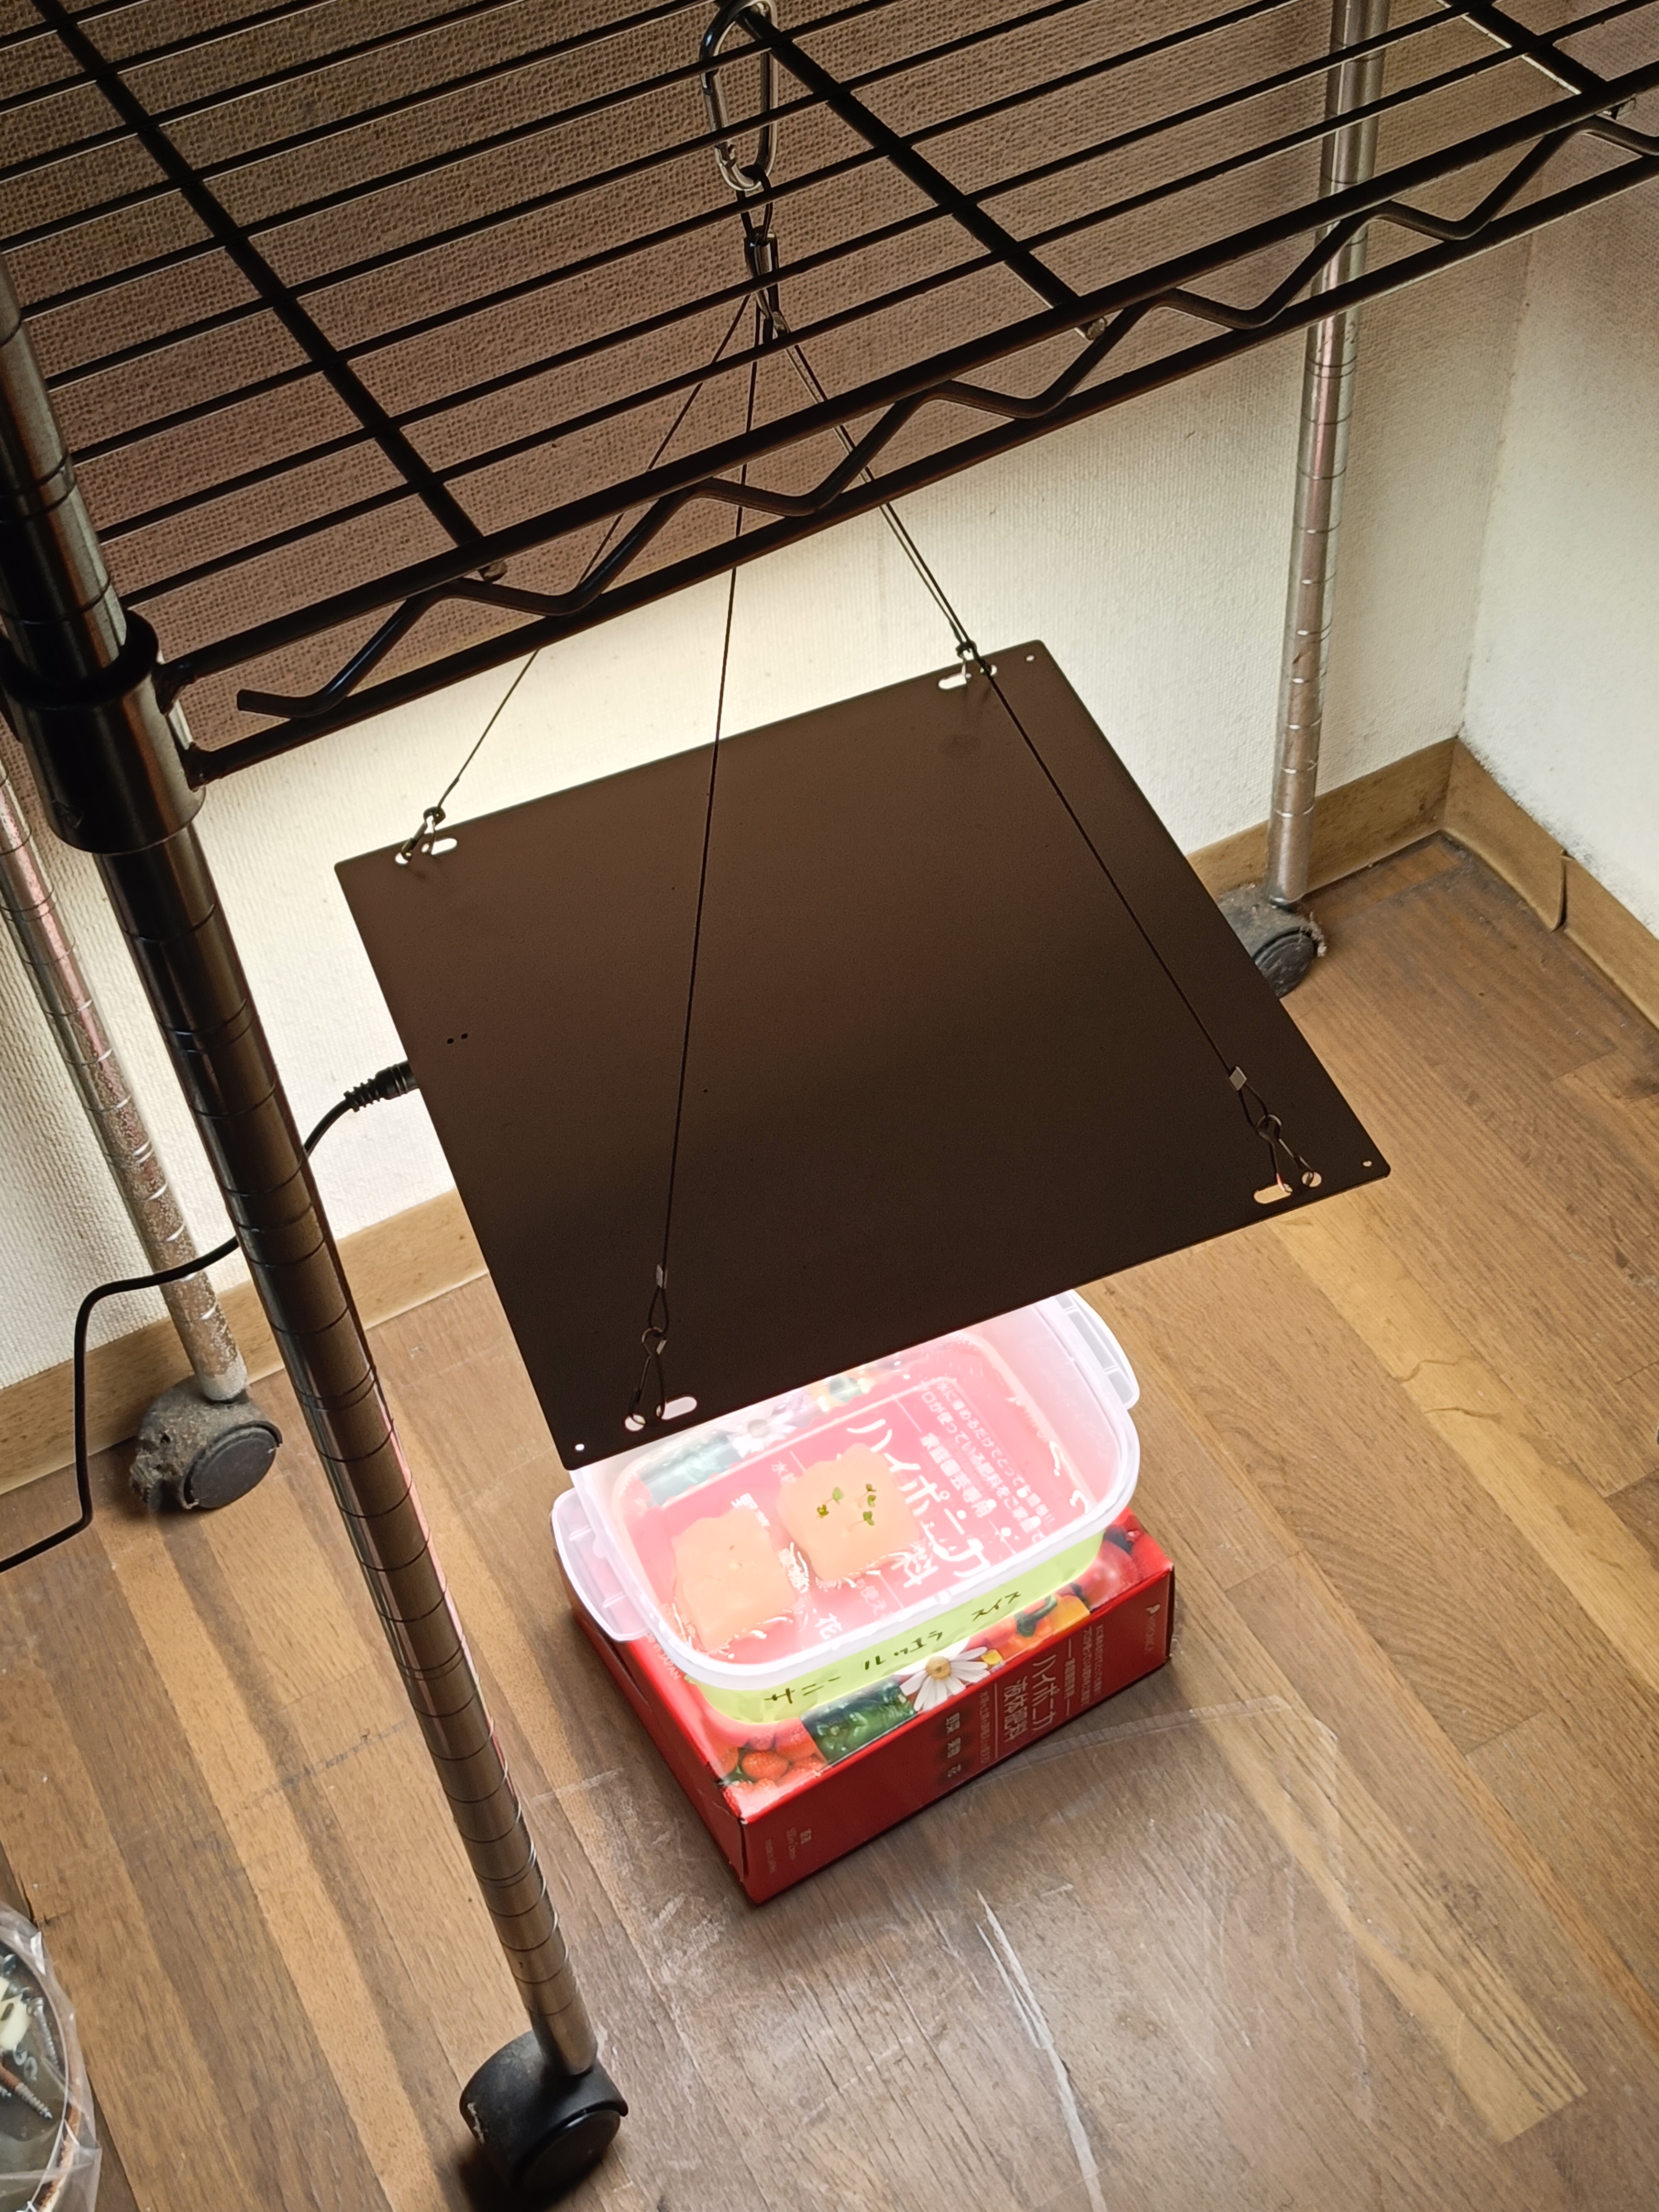
I filled containers with water, placed moistened sponges with slits cut into them, and sowed the seeds on top. The aluminum foil was because Gemini said those seeds were photoblastic (light-sensitive for germination)… but when I looked it up, I couldn’t really tell either way, and it worked fine even after removing it. I placed them in the warm bedroom on top of my PC with LED light for germination. Once sprouted, they wait for growth under stronger plant-growing LEDs.
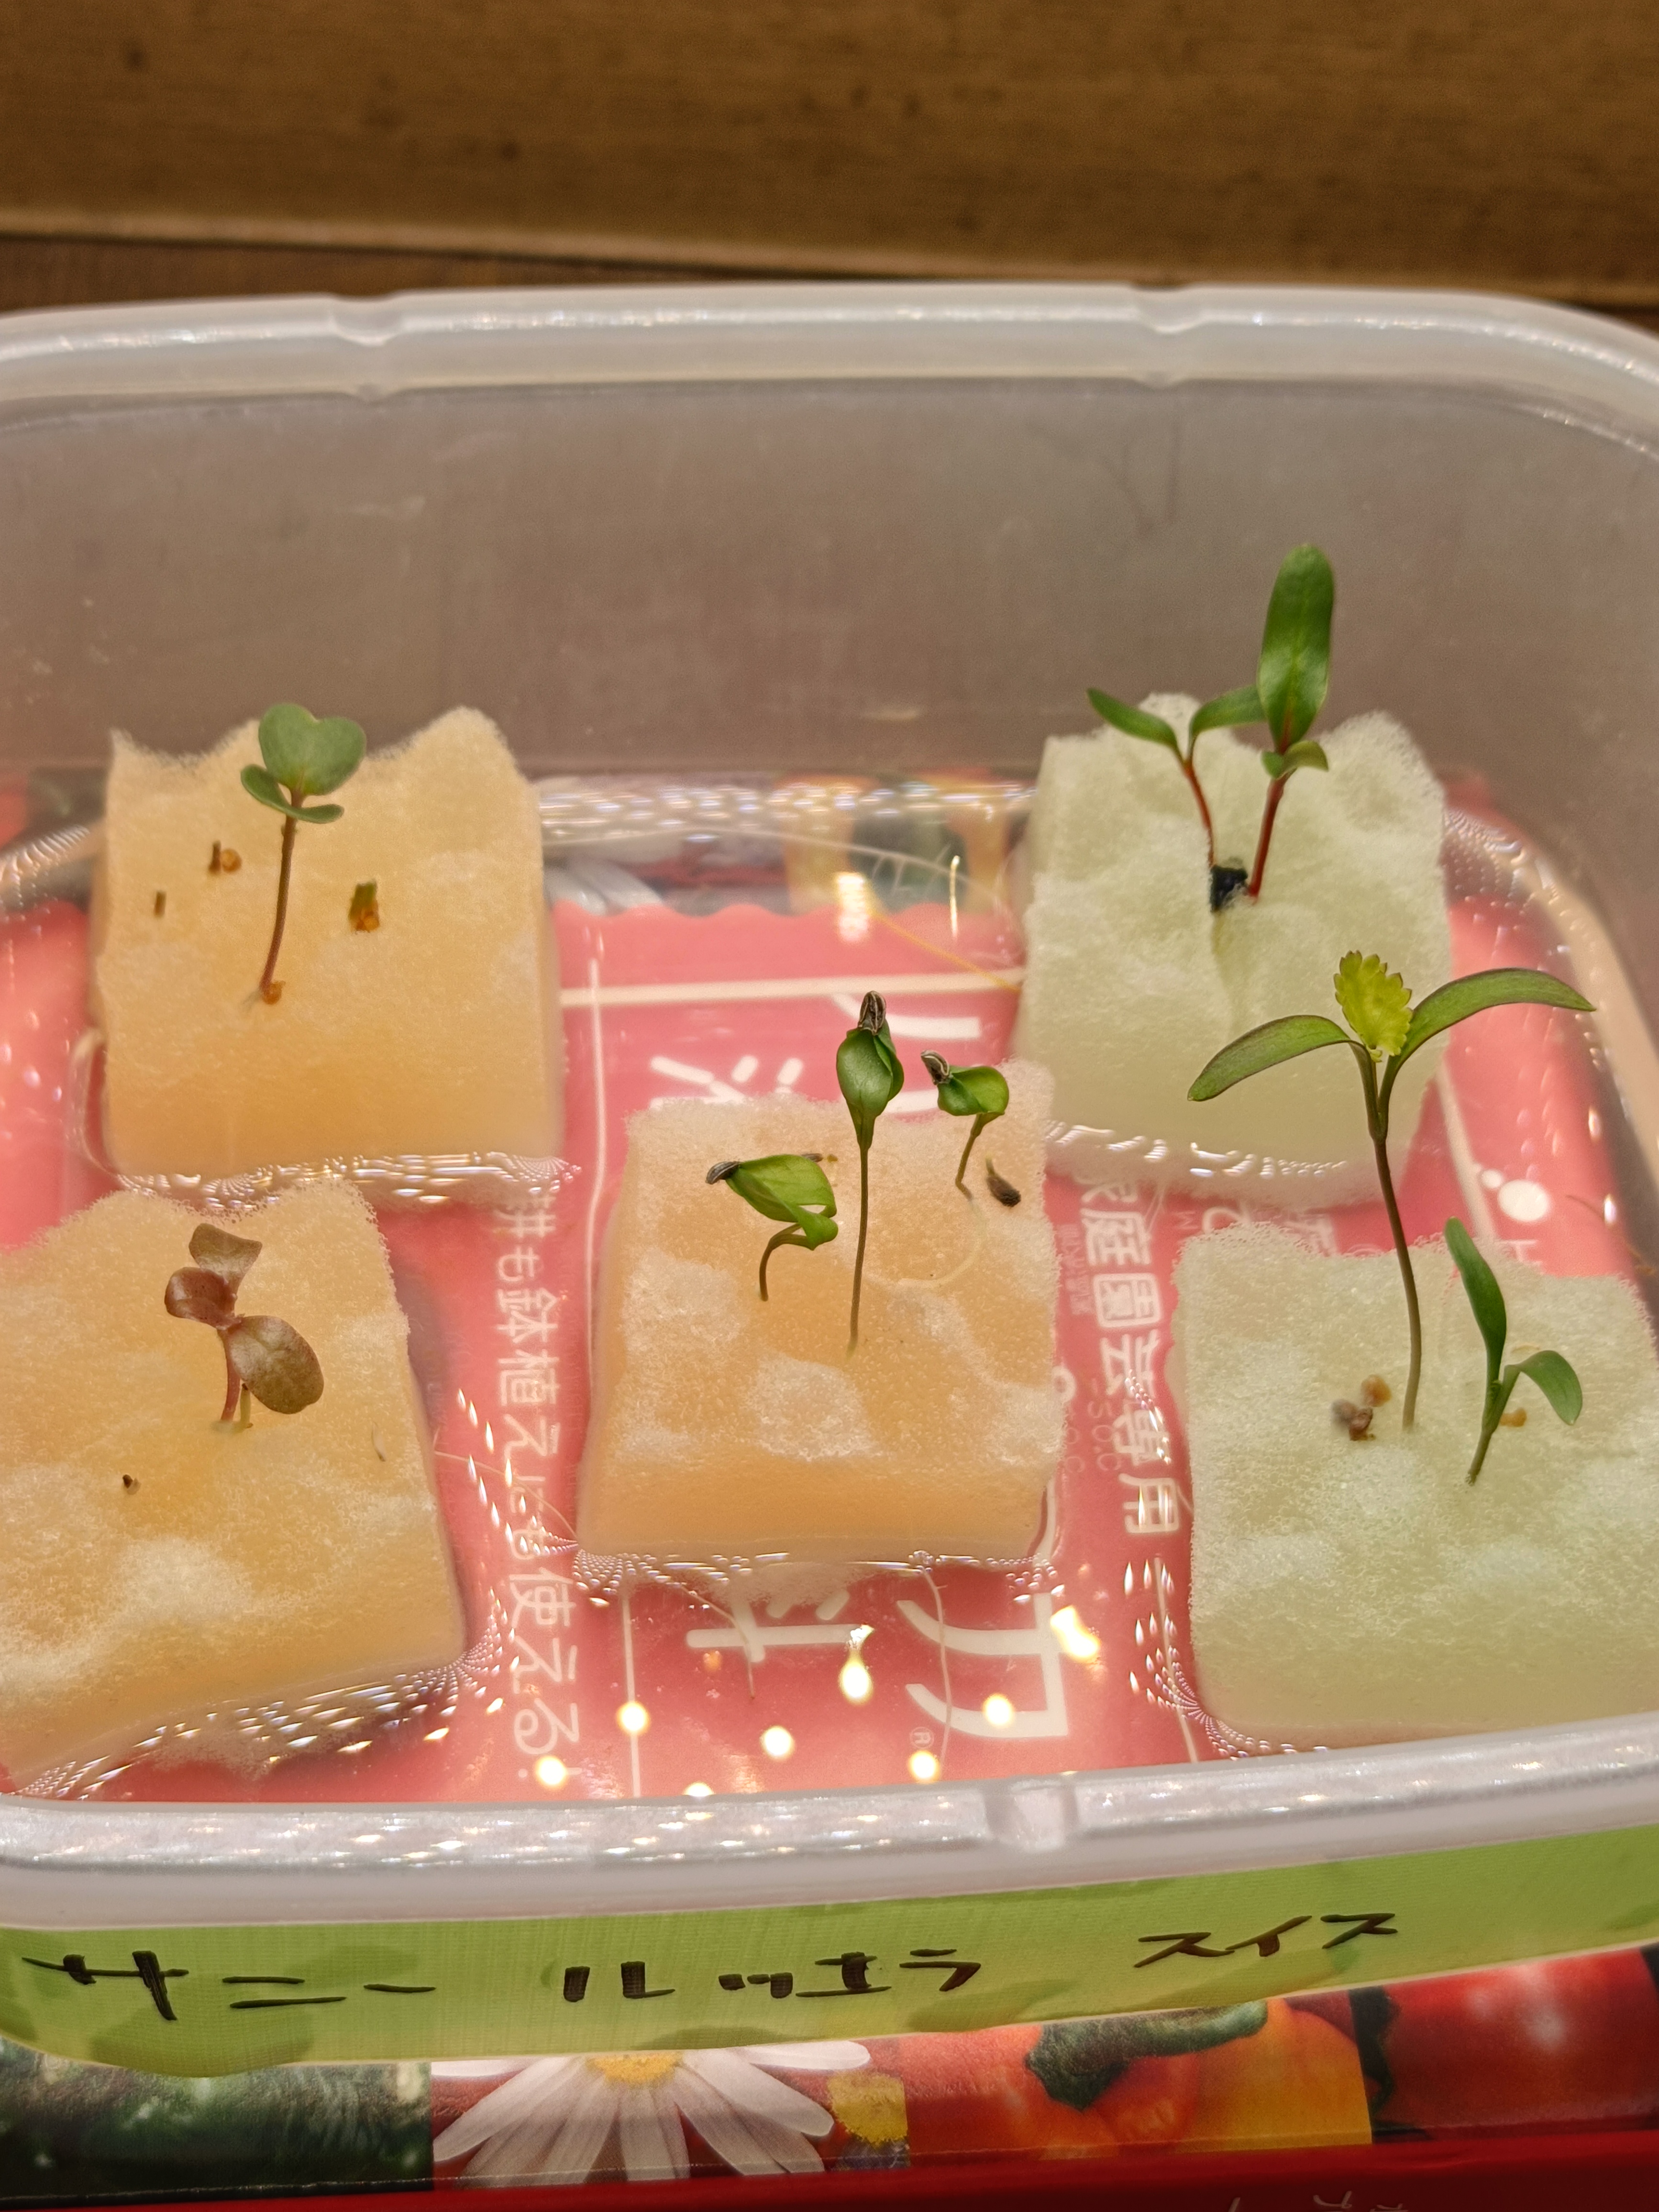
According to Gemini, I should transplant after the true leaves appear, but it had already been 20 days since sowing, so I decided to move on to transplanting.
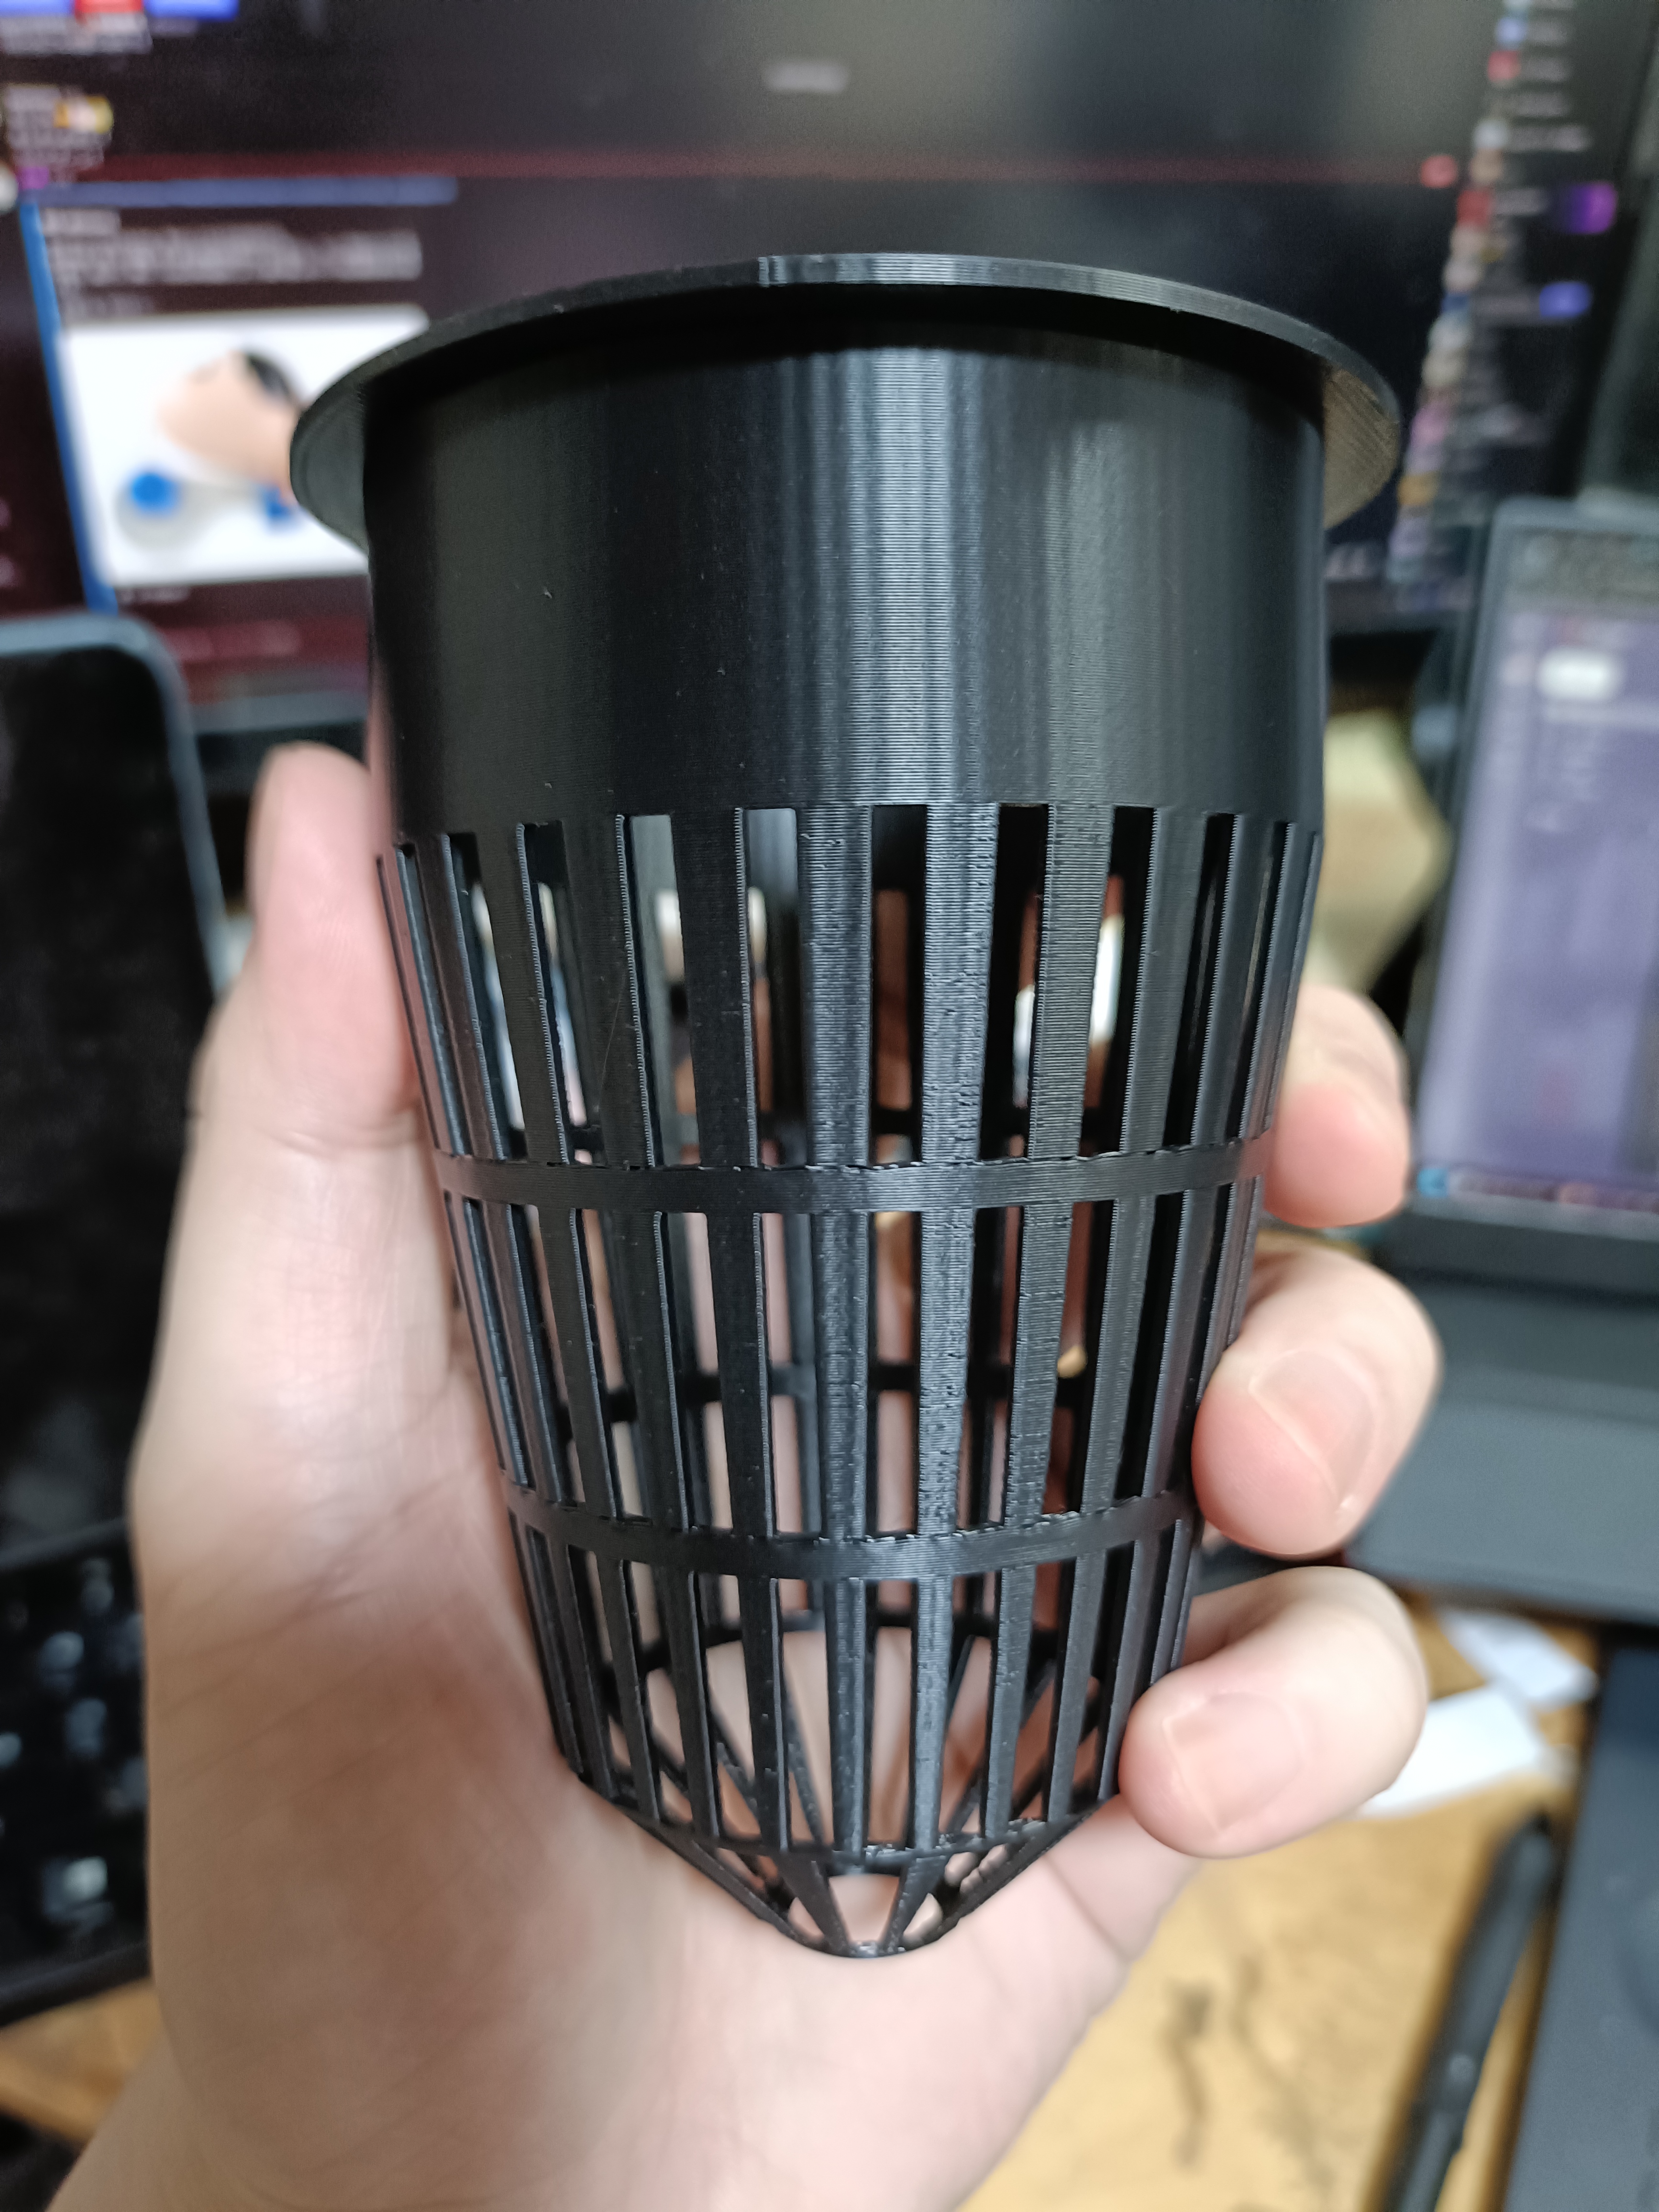
Transplanting is the process of planting seedlings into planters or similar containers. For this hydroponic setup, I made specialized cups, lined them with hydro balls, and buried the seedling sponges in them. The cups were 3D printed.
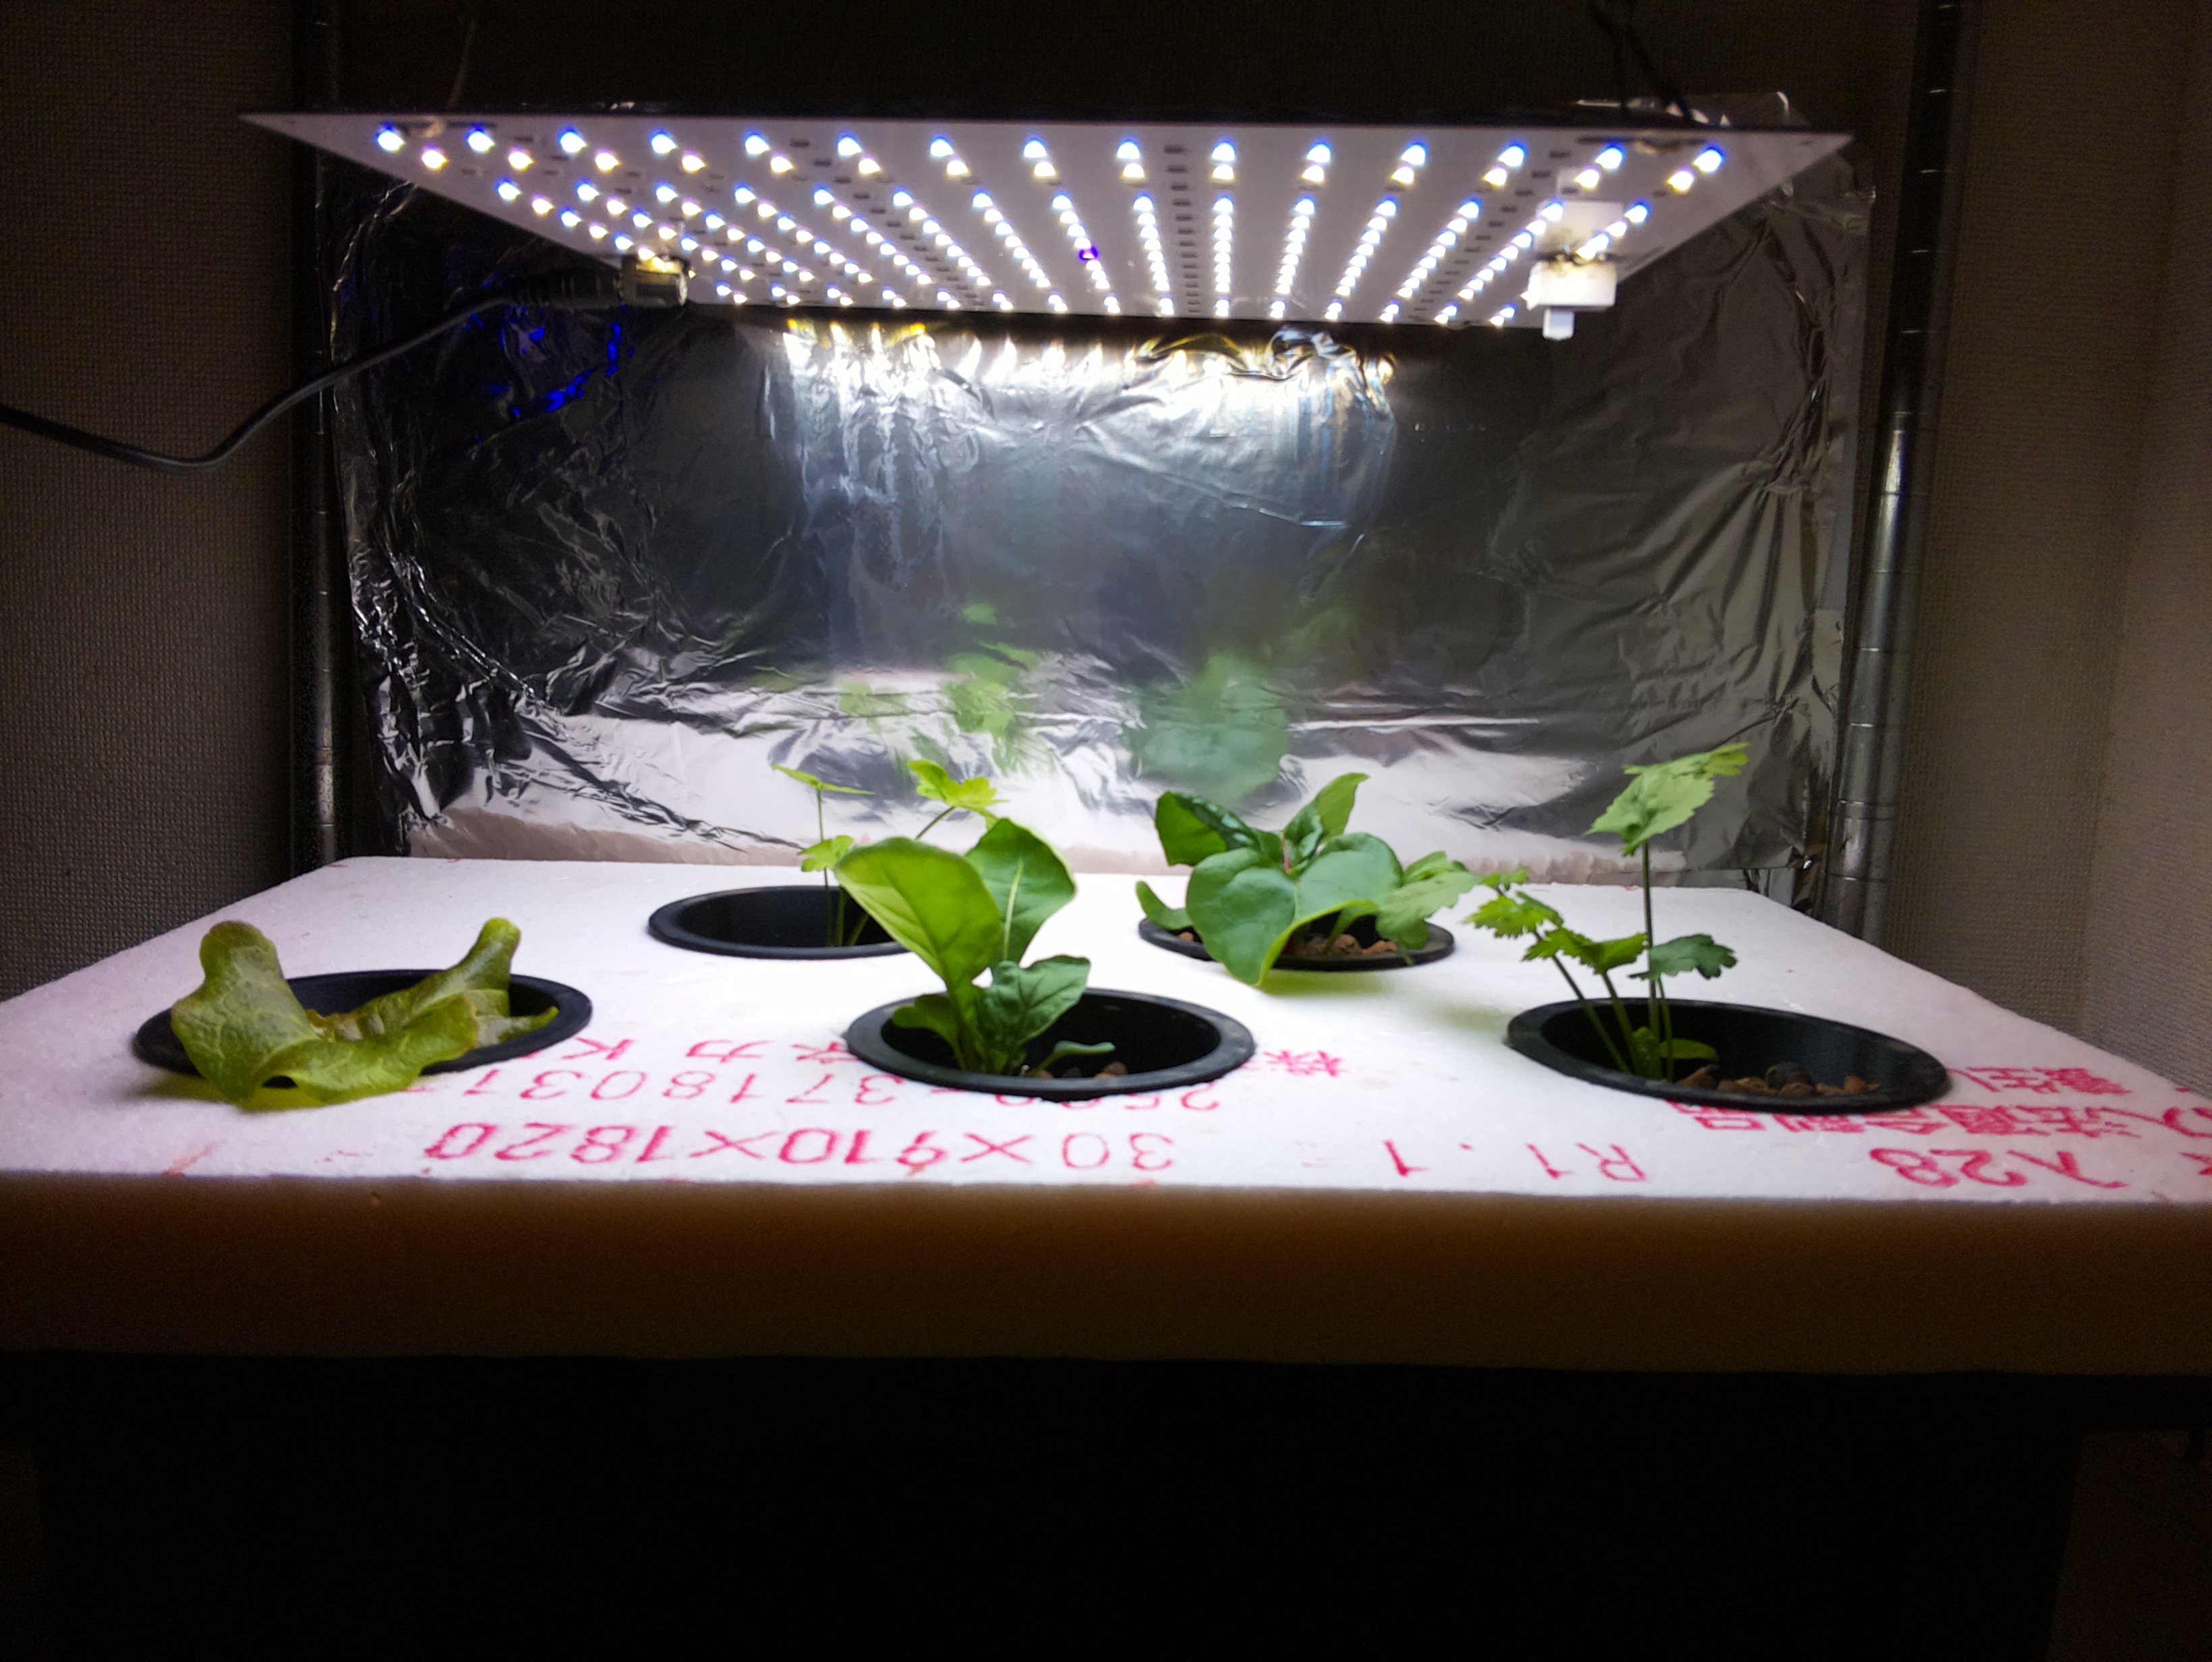
Then I cut holes in a styrofoam board and installed the transplanted cups, and it looks like this:
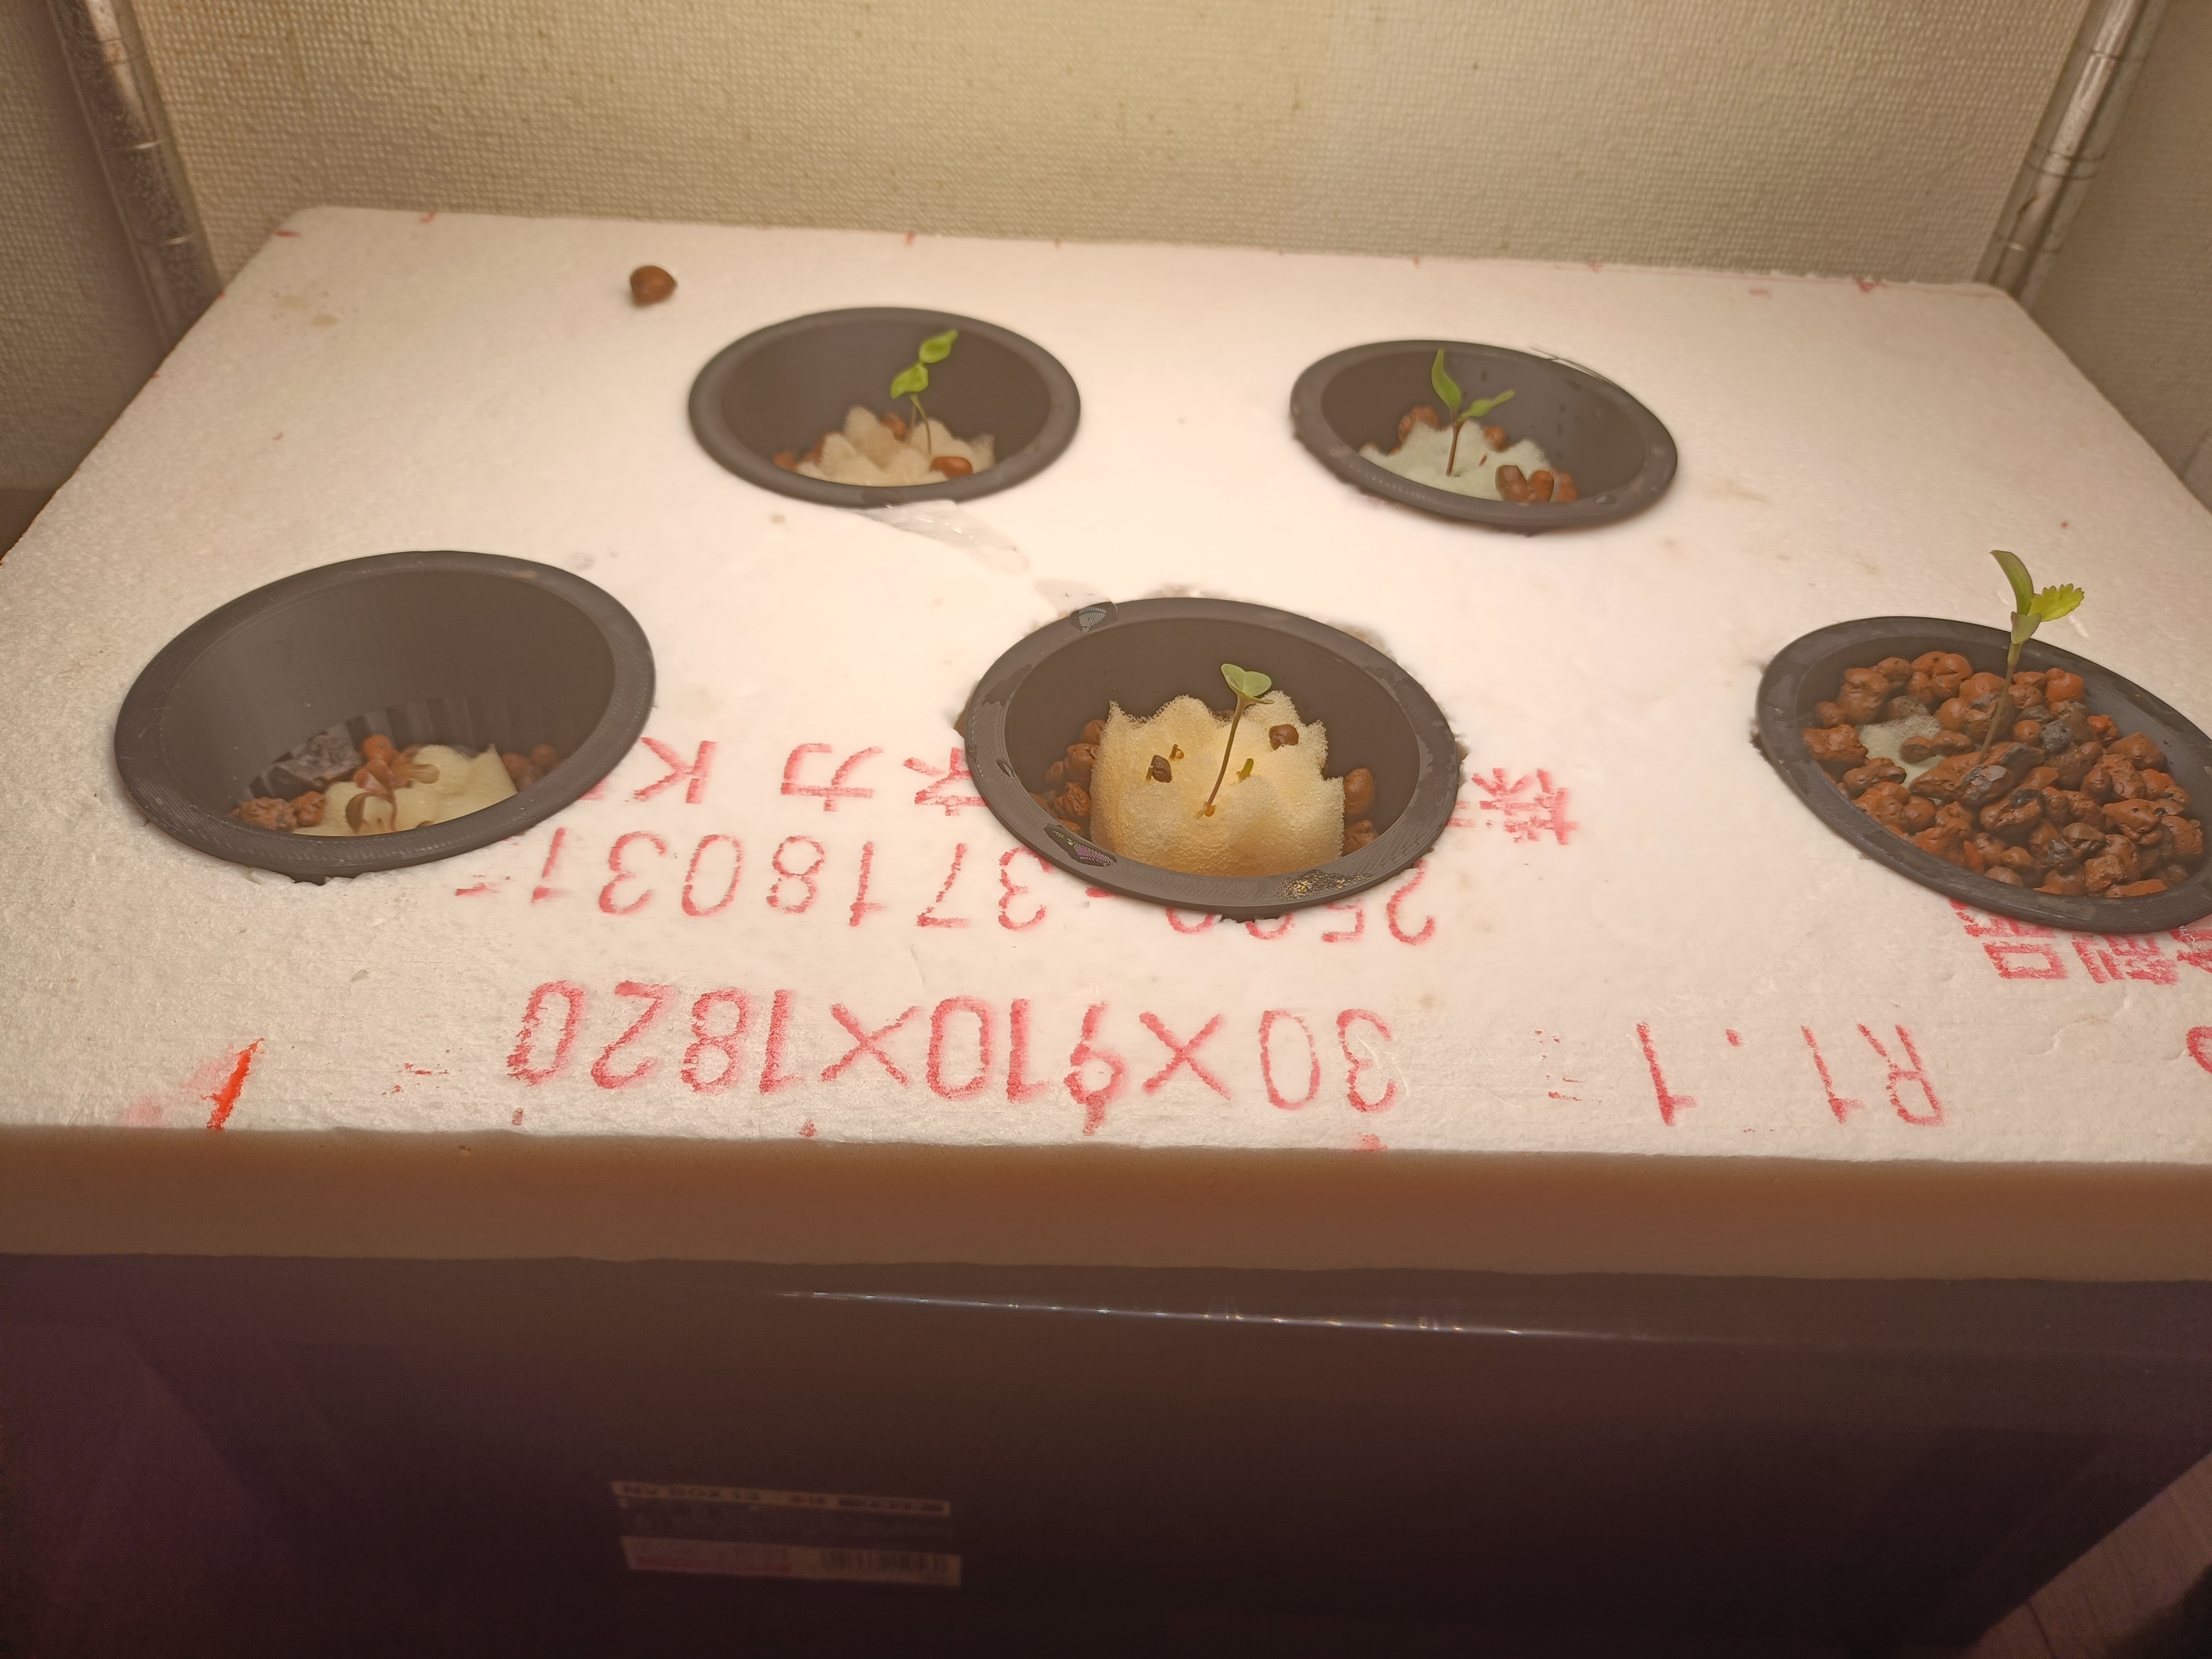
From here, just turning the LEDs on and off will make them grow. But of course, we need to automate this!
Automation
Temperature and Humidity Monitoring
First, I set up temperature and humidity monitoring. I used the M5NanoC6, a tiny device from the M5Stack series with an ESP32-C6. Despite being small, it supports Wi-Fi and Bluetooth, comes with USB Type-C and a GROVE connector, making it quite versatile. It also has buttons, RGB LED, and even an IR LED. I connected an ENV-IV unit with an SHT40 temperature and humidity sensor to it. (Apparently it’s been discontinued.) The NanoC6 distributes the sensor values via a Web API. I quickly coded it up with Claude Code. Haven’t uploaded it to GitHub though… need it?
Lighting Control
Next, the lighting. My LED lights had no control features, so I built that too. Again used NanoC6 for the controller. For LED ON-OFF, I used a MOSFET relay with a GROVE connector from Seeed. (Unfortunately seems to be discontinued too.) It connects to GROVE but doesn’t speak I2C, so note that. It closes when the GPIO input is ON. The control program syncs time via Wi-Fi with SNTP and simply turns ON-OFF when the time comes. I also added a Web API to get the switch state and a feature to light the LED in different colors depending on the state.
The whole system looks like this:
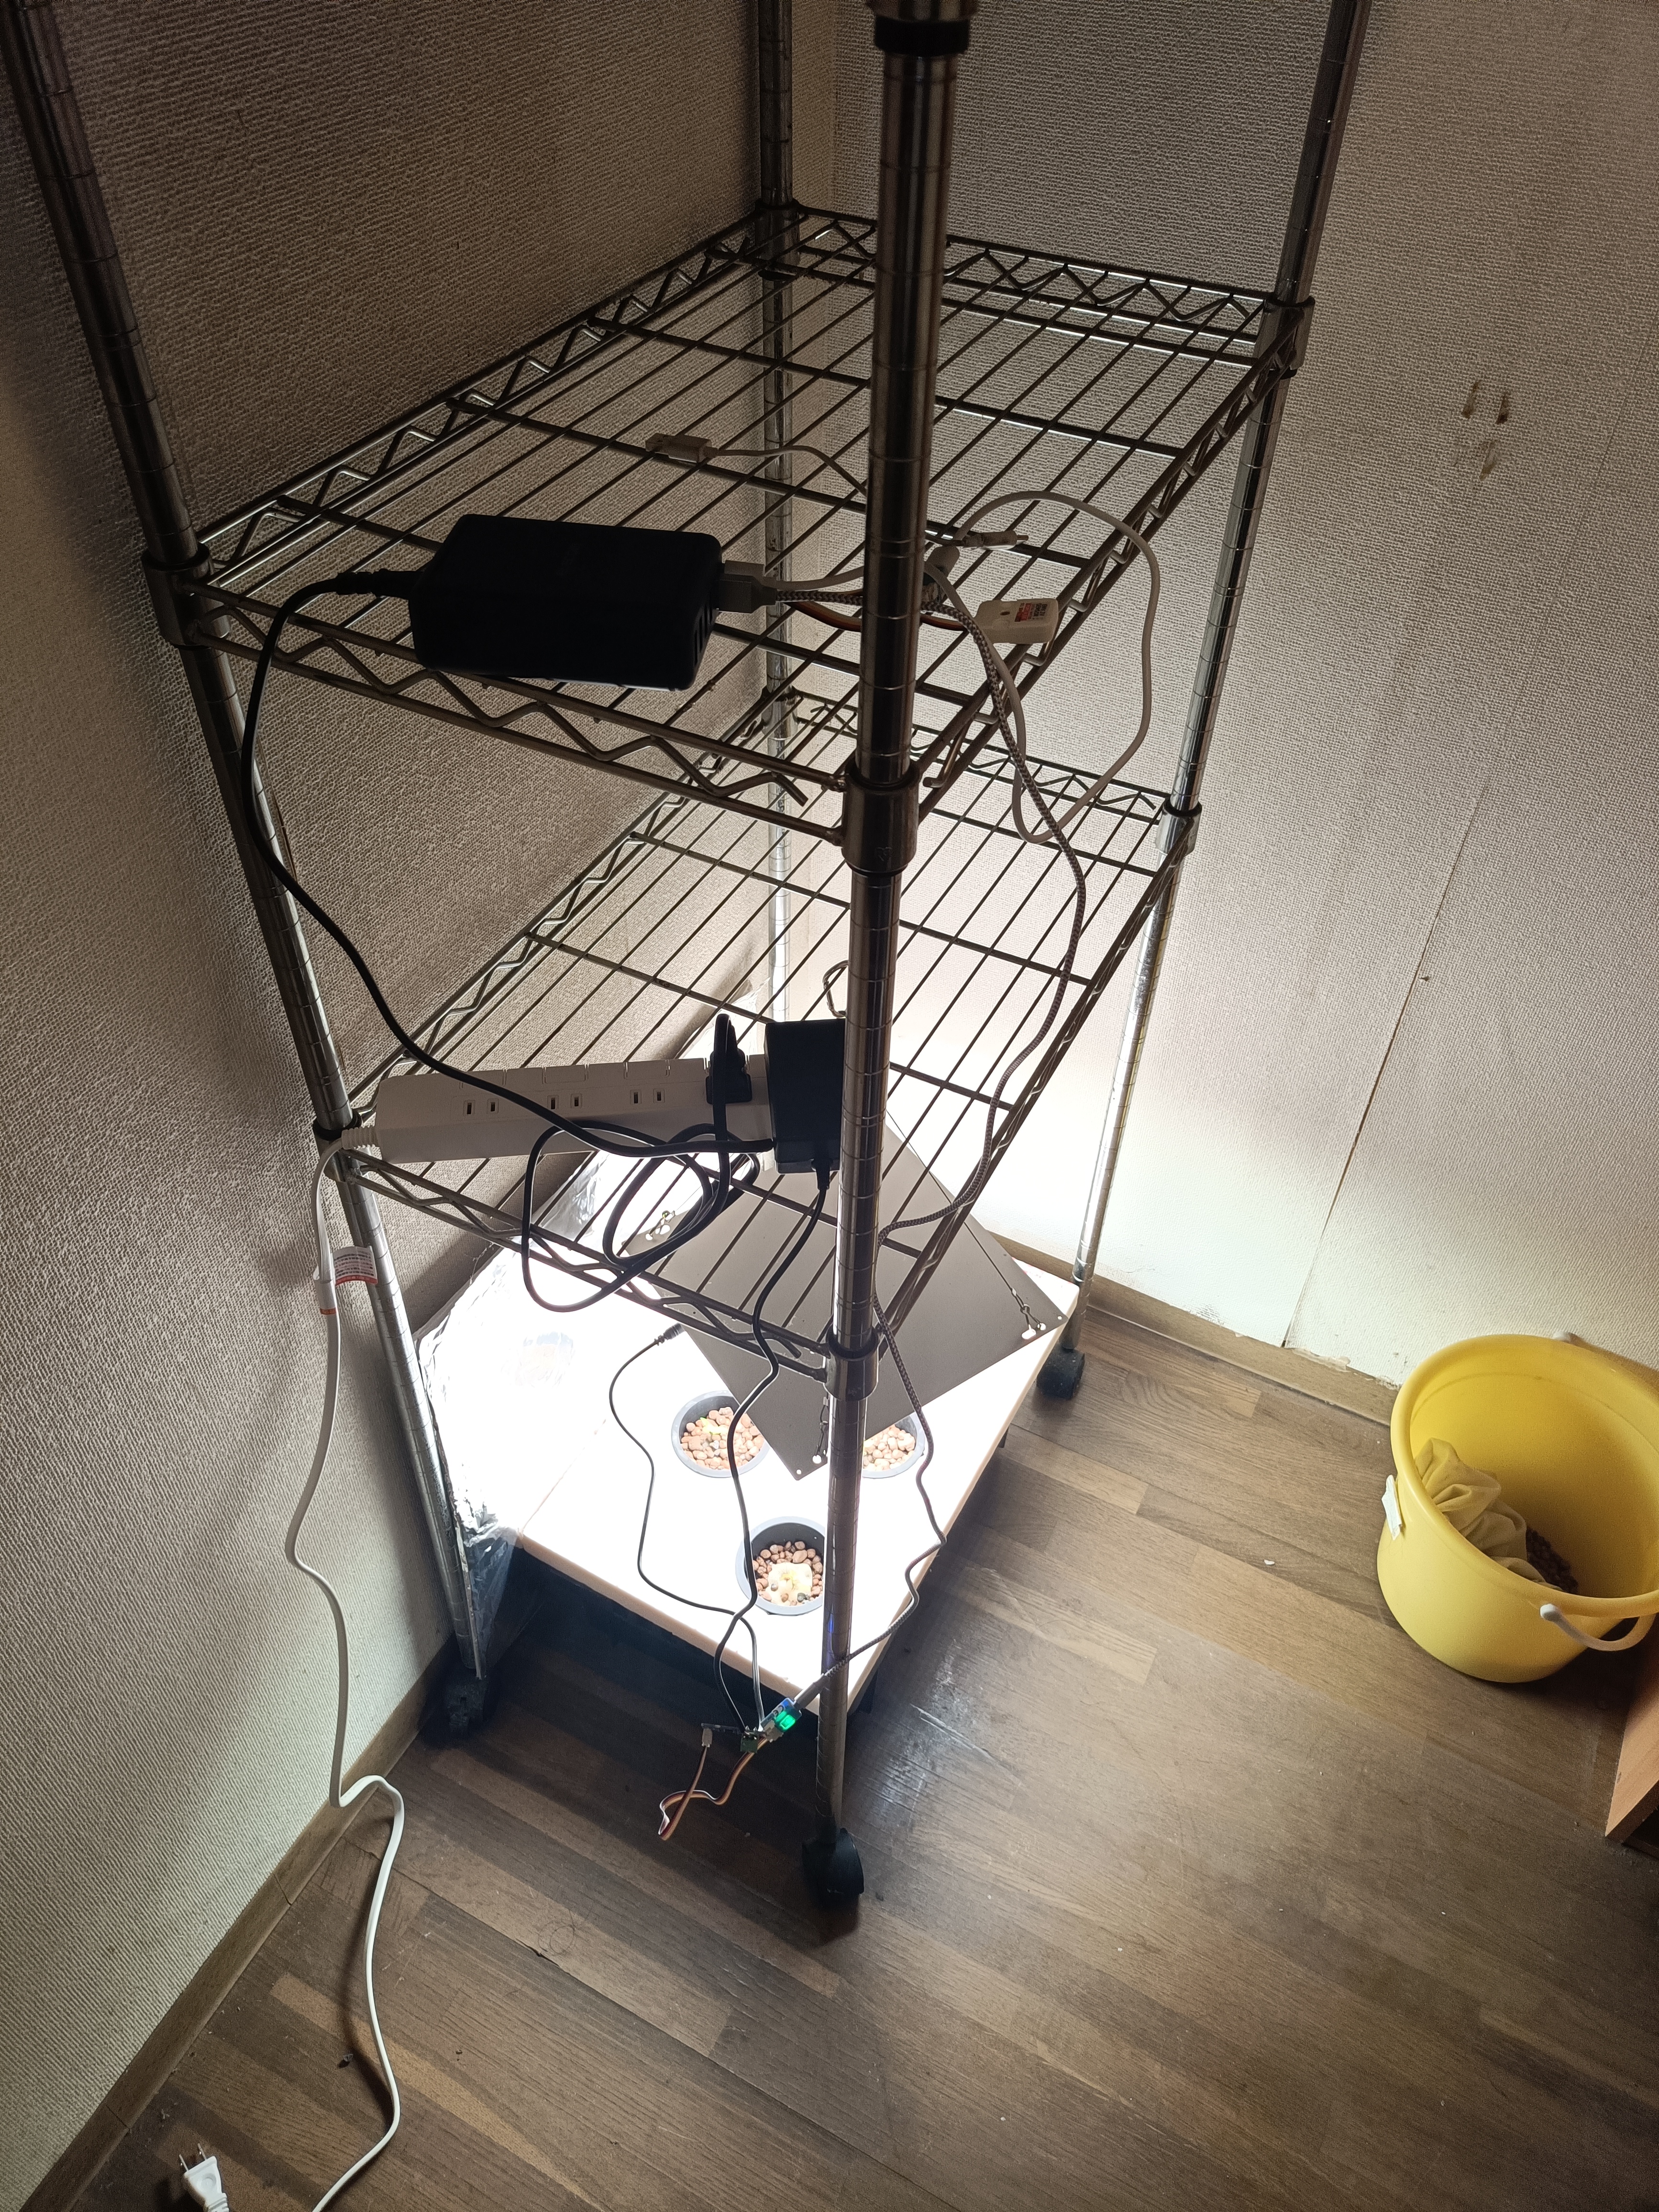
Though you can’t really see much because the controller is so small. That’s another advantage of the NanoC6—how compact it can be. With this, I confirmed the temperature and humidity are around 15°C / 50%, optimal for hydroponics, and the lighting is automated so it’s safe to leave the house.
Image Streaming
I want to do time-lapse observation of plant growth! So I quickly put together a system. Initially I thought about streaming live video, but decided against it—what’s the point of streaming plants that barely move?
Hardware
Here’s what I used:
- Raspberry Pi 4
- USB Type-C power supply
- Camera Module 2
- Cardboard box for mounting
All of this was lying around at home. Assembled, it looks like this:
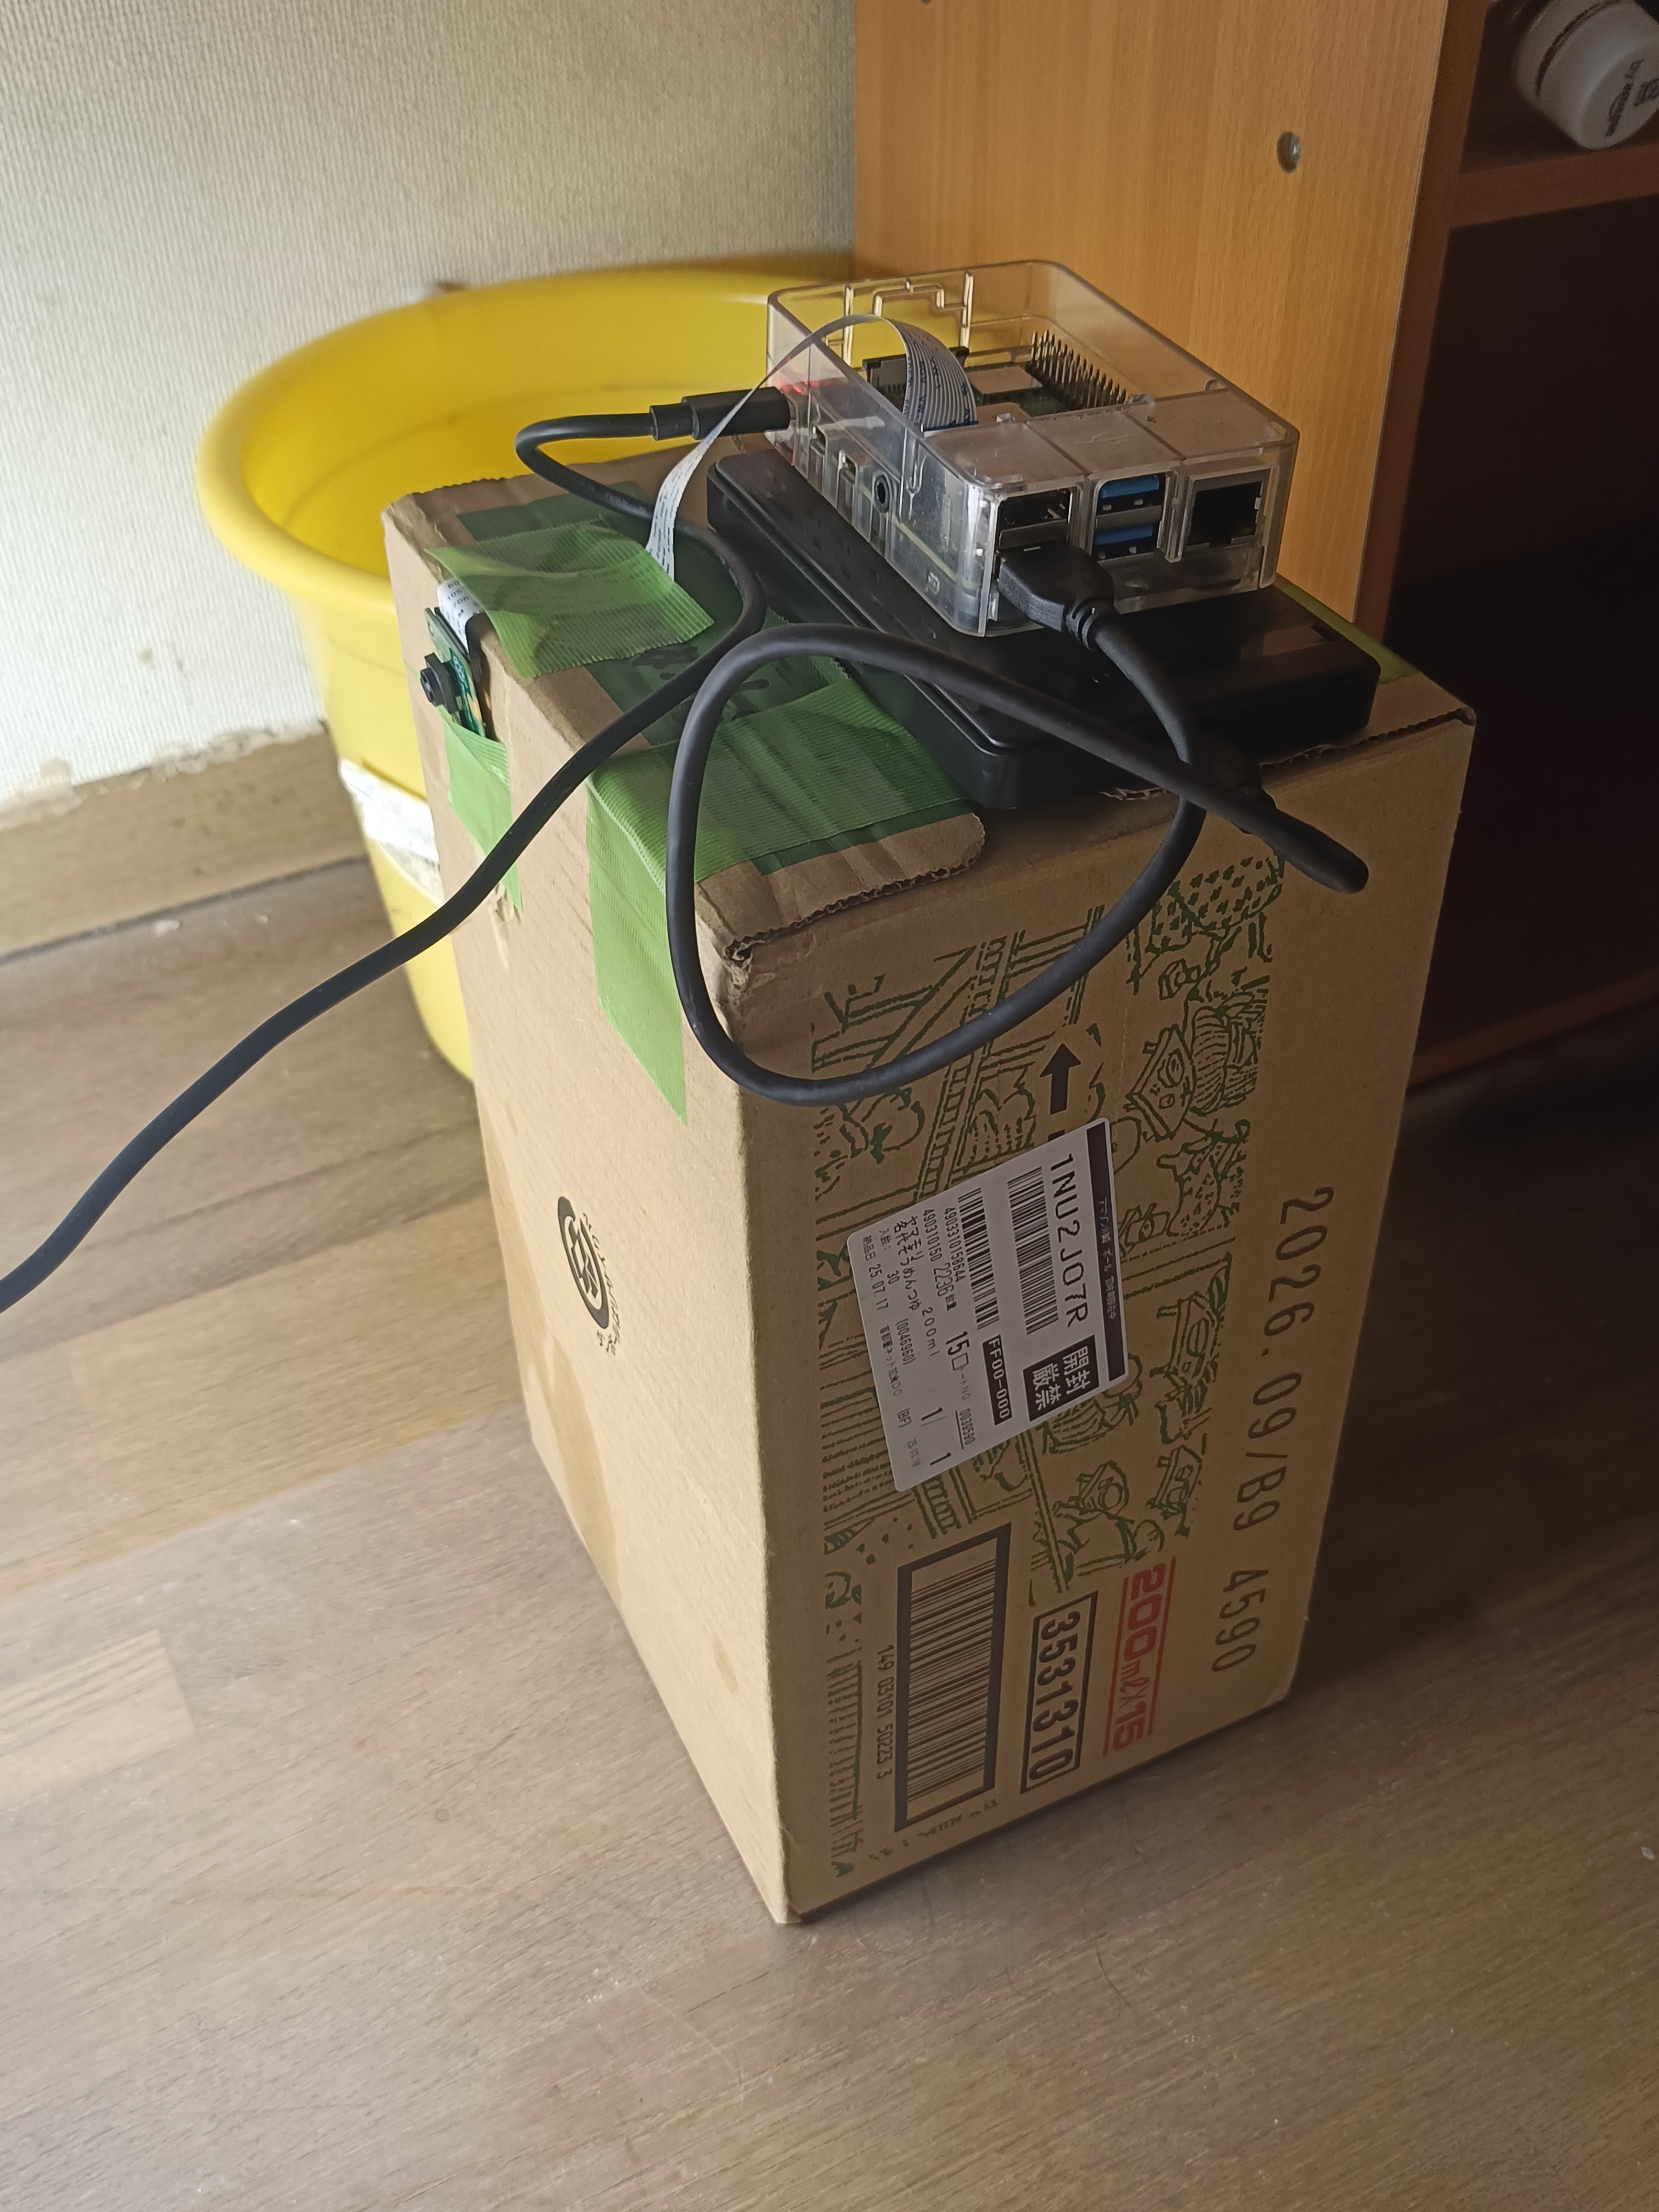
Ah yes, DIY!
Software & Distribution
The Raspberry Pi 4 is controlled simply with a combination of shell scripts and cron. The source is in the /rpi directory of the repository.
It’s a script that takes still photos and uploads them to Cloudflare R2, but it also temporarily saves temperature and humidity data in SQLite3, converts it to JSON, and sends it to R2.
I’m managing it in a DB for now, thinking I might need to extract specific data later.
I considered InfluxDB since it’s time-series data, but decided against it due to operational overhead.
The JSON uploaded to R2 contains filenames and temperature/humidity data. This is fetched and displayed by a frontend built with Astro. Like a time-lapse, you can move a slider to see past images and temperature/humidity. It fetches images each time, so it’s not smooth though.
Reflections and Future Plans
For something I made on the side, I think it turned out to be a pretty good system. I could have left all the control to just the Raspberry Pi, but decided against it for these reasons:
- Wiring would become messy
- By keeping the lighting system separate, cultivation can continue even if the image streaming system stops
Future plans are as follows:
Give the Raspberry Pi a Proper Stand
Having it just plopped on a cardboard box with a camera attached is obviously inconvenient, so I want to make a case for the camera module and Raspberry Pi and mount it on a tripod or something.
Time-lapse Video Distribution
I’ve already written a script that can create time-lapse videos, but I haven’t set up distribution on the website yet, so I want to make that happen.
Add Aeration
Since the plants hadn’t grown much when I automated the system, I omitted aeration (the thing that bubbles air in the water). I’ve already bought the equipment, so I’ll install it.
Conclusion
It looks like it’ll take another 20 days or so until harvest. I’m looking forward to it. Maybe I’ll make a salad or something.